I personally repaired the sagging seat of my sofa at home.
Over time, I tested multiple repair methods: a basic quick fix, a detailed full restoration, and a simplified version.
Here’s a comparison so you can decide which method suits your needs best.
- Checking the Sagging Sofa Seat
- Reinforcing the Webbing Tape by Sewing
- Placing Cardboard Under the Seat
- Creating a Base with PP Bands
- Replacing the Webbing Tape
- Shortening Existing Webbing Tape with a Staple Gun
- Attaching New Webbing Tape Over the Old One (Optimized Version for Quick Fix)
- Summary & Materials Used
Checking the Sagging Sofa Seat
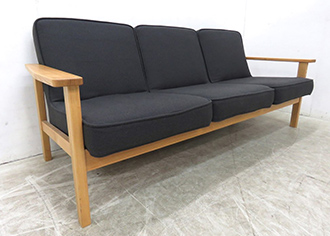
Our sofa is a Muji model.
We previously had a different Muji sofa, but we switched to this one because it’s easier to clean underneath.
We bought it about ten years ago.
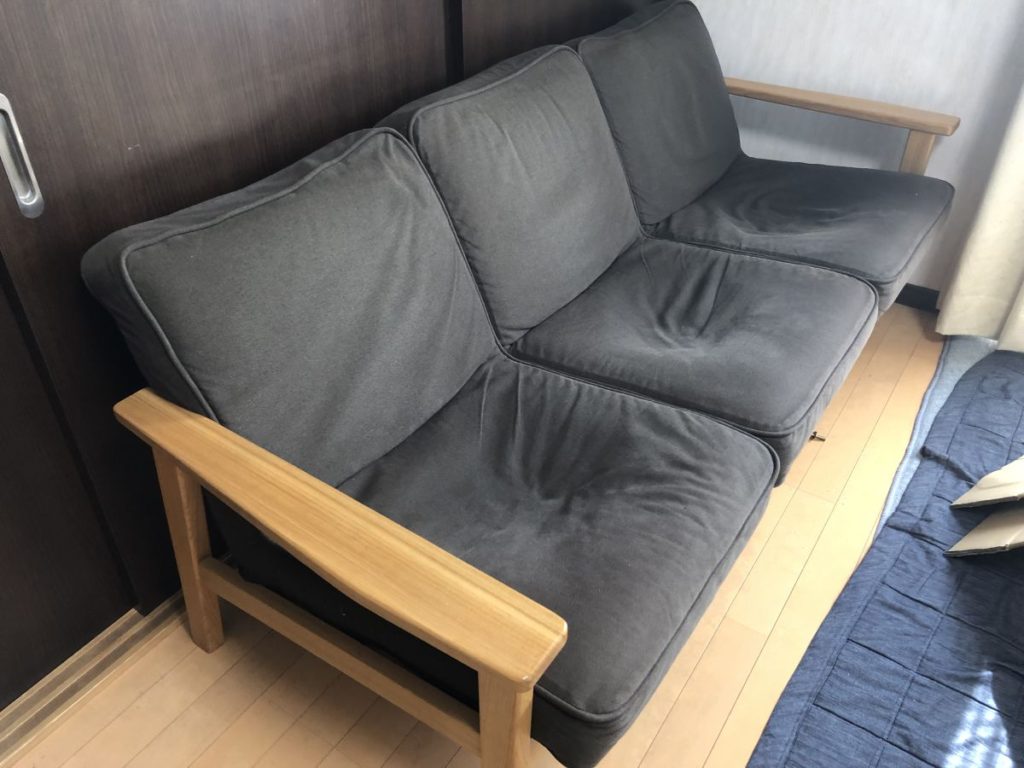
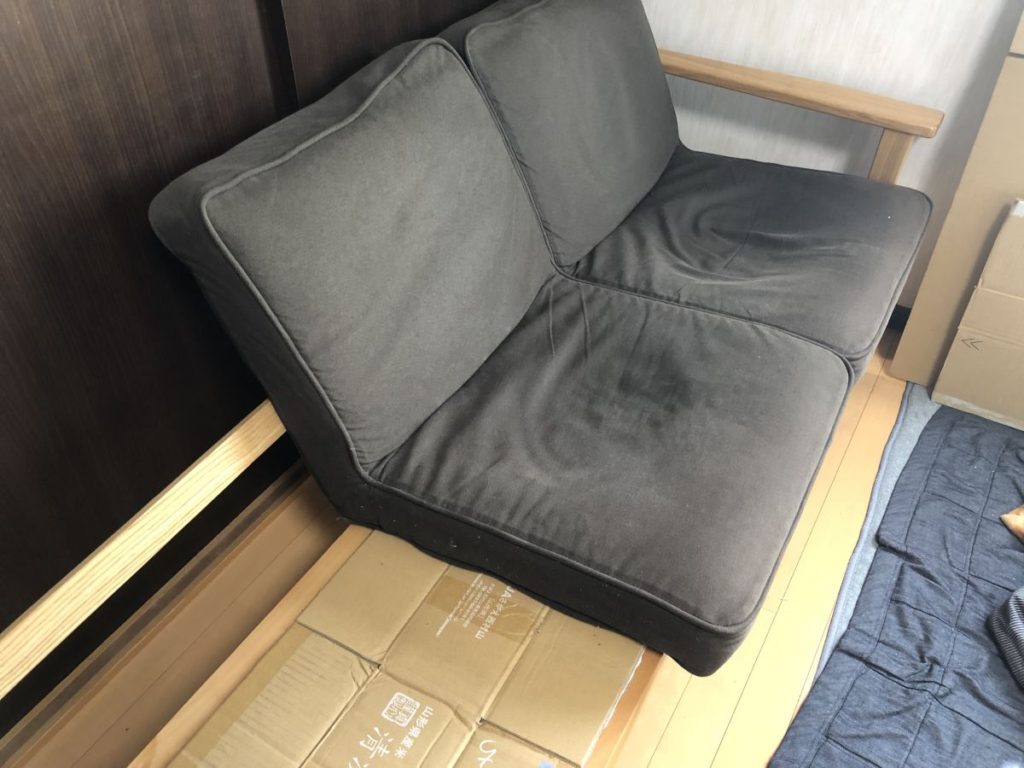
As you can see in the photos above, the seat cushions have started to sag and have become unpopular with my family.
Having it professionally repaired would likely cost quite a bit — at that point it might even make more sense to buy a new one.
So I decided to tackle the problem myself first. After several attempts, I finally found a method that worked well, and in this post I’ll summarize the process and its history.
I don’t have a photo of it when it was brand new, but you can check it out here and here. It looked nice and firm at first.
Reinforcing the Webbing Tape by Sewing
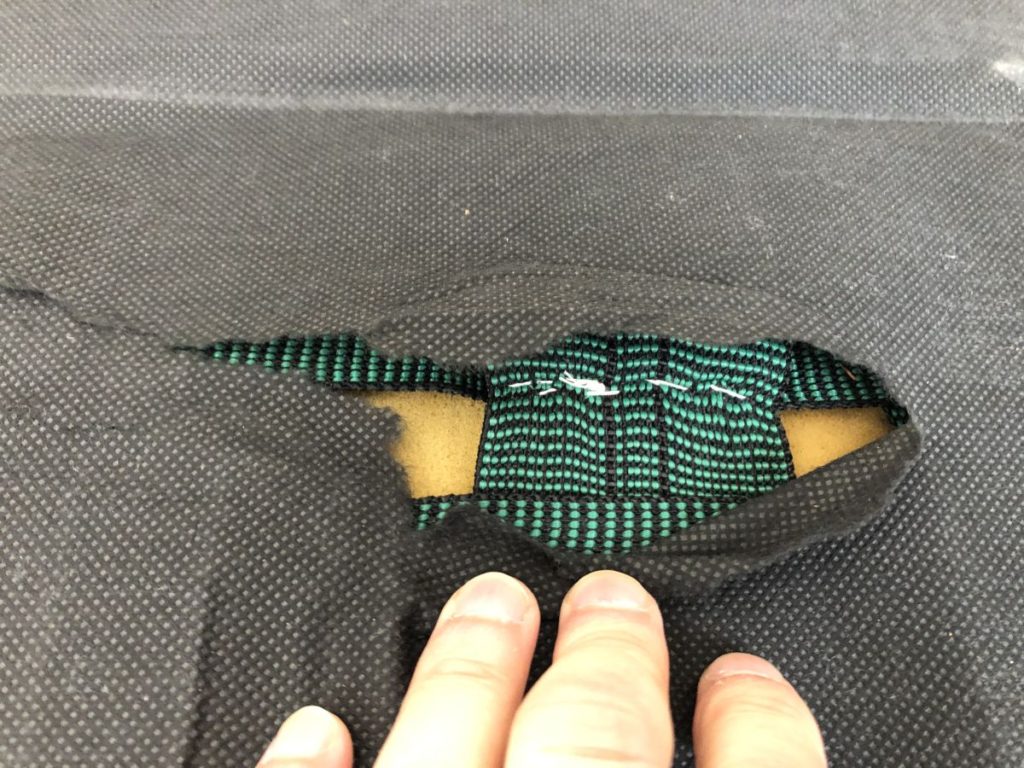
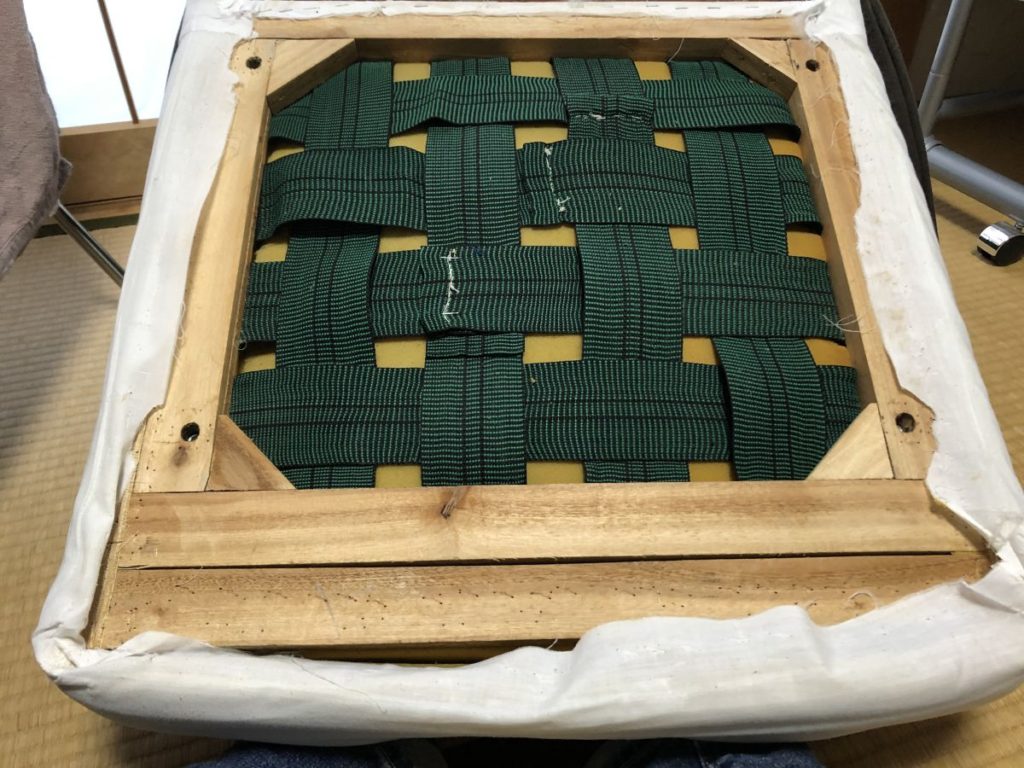
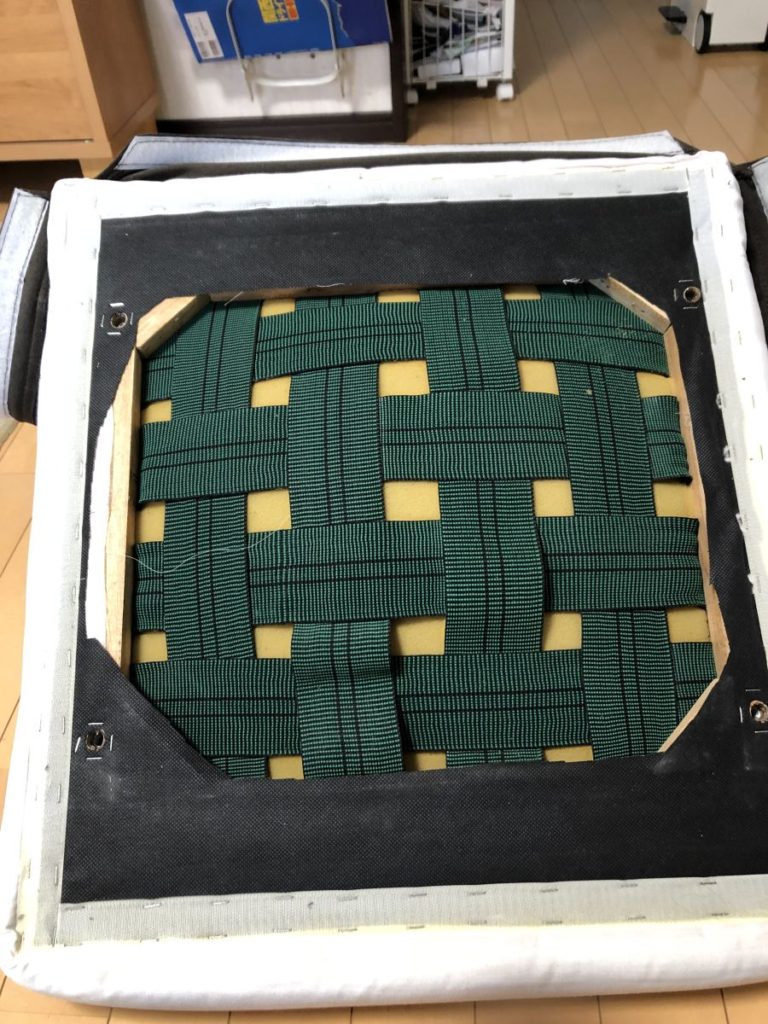
To see what ‘seat sagging’ really meant, I first noticed the bottom fabric (apparently non-woven) had ripped.
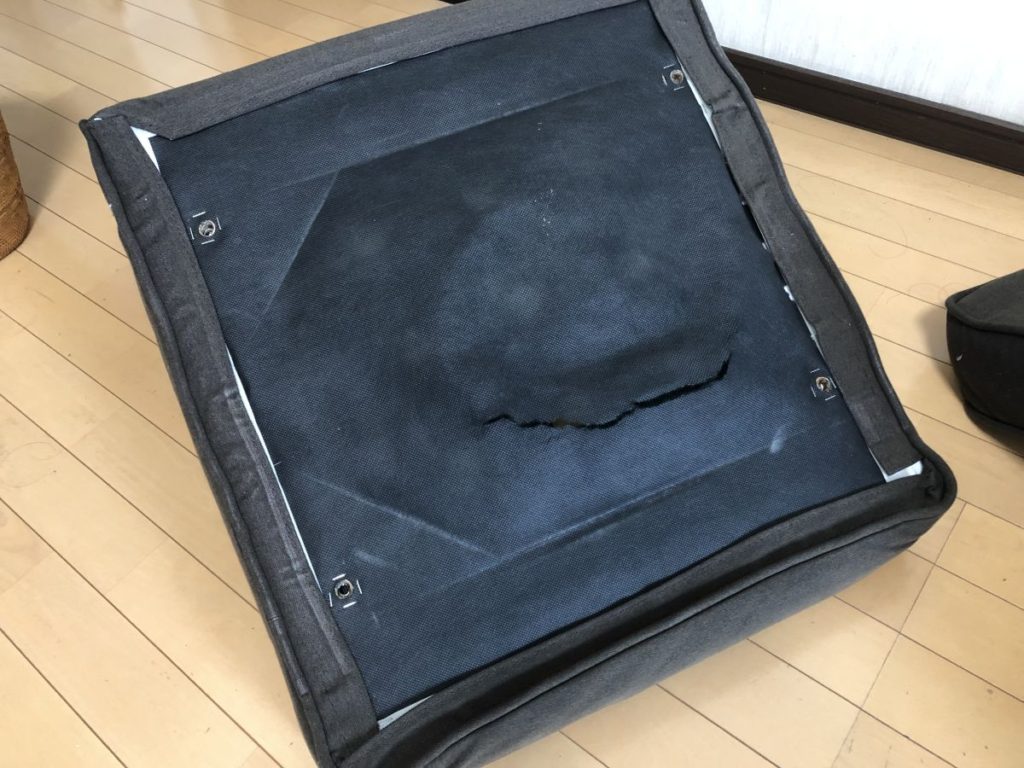
Peeking inside the tear, I found crossing webbing tapes (elastic belts) — the structure that actually supports the seat.

As part of the process, I took off this non-woven fabric — the photo below shows it. You can see the webbing tapes are all stretched out and no longer able to support the seat properly.

“The first thing I tried was sewing the webbing tapes to shorten them and increase their support. This had some effect.
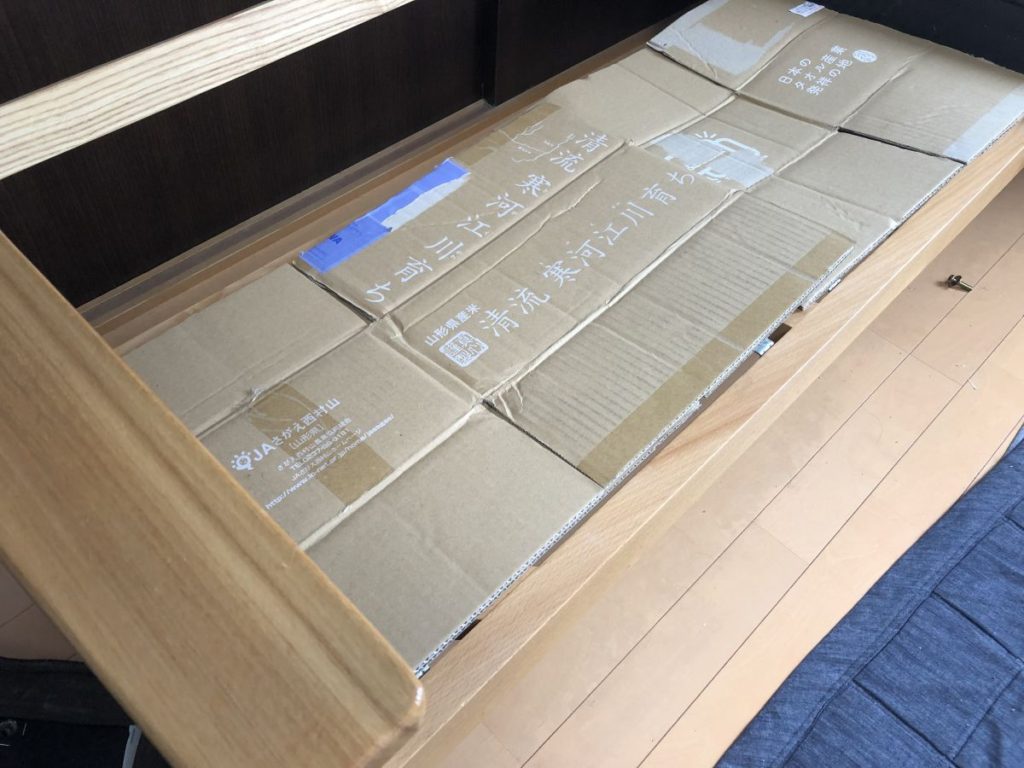
Placing Cardboard Under the Seat
The second fix I tried was placing cardboard under the seat so it could support the cushion instead of the stretched webbing tapes.
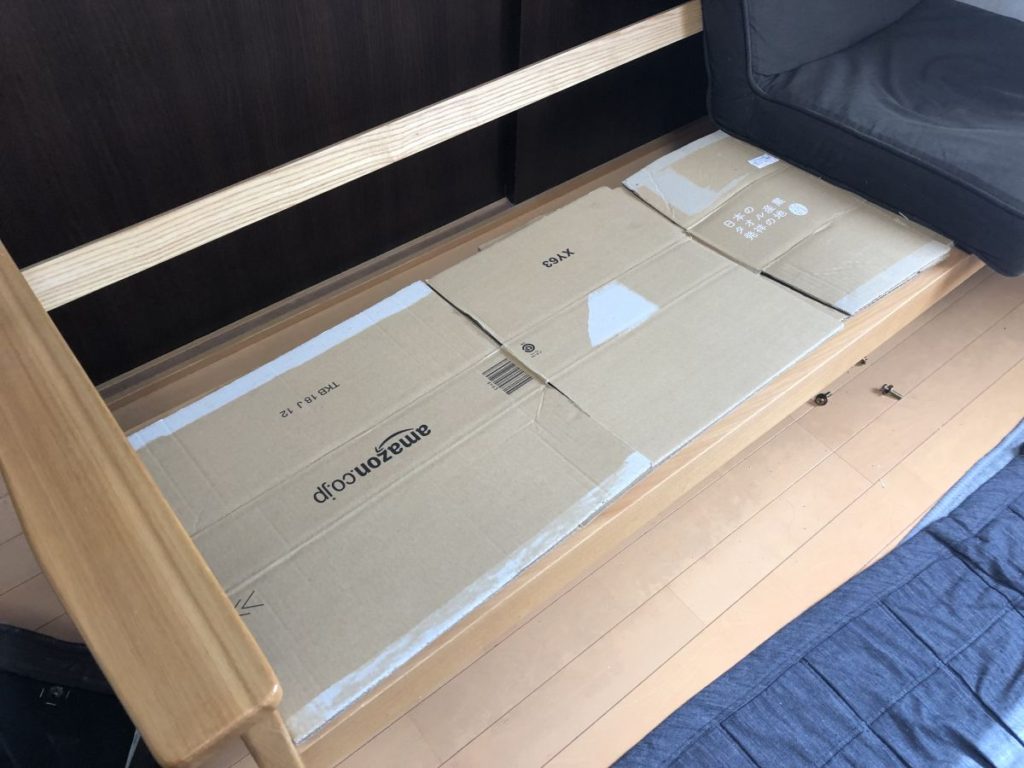
As you can see compared to the first photo, the seat has become noticeably flatter.
This improved the seating comfort and my family was fairly happy with it.
The downside was that the cardboard itself was doing the supporting, so it weakened over time.
I ended up having to replace it every few months and eventually even stacked two layers.
Creating a Base with PP Bands
Next, I tried using PP (polypropylene) bands to support the seat instead of the webbing tape.
I picked them up at a home improvement store (similar to this one on Amazon), typically used for strapping things.
I don’t have photos of this setup, so here’s a quick description. In the earlier photo with the cardboard, you can see wooden beams at the front and back of the seat frame (they also run along the sides). I wrapped PP bands between these beams and placed the sofa seat on top.
This worked quite well — the seating comfort was good and, unlike cardboard, it didn’t wear out. The only drawback was that you could slightly see the PP bands when lying under the sofa.
Replacing the Webbing Tape
Finally, I went ahead and replaced the webbing tape (elastbelt) itself.
This was a big job compared to the previous fixes.
Here’s a quick summary:
I pre-ordered the webbing tape and a tacker from Amazon before starting.
This is the webbing tape I used:
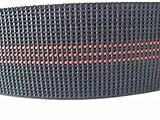 ウェービングテープ/エラスベルト 切り売り23m (5m)
The stapler/tacker I used is the KONYO STP-1214.
It seems like a tool that could be useful for various other repairs too.
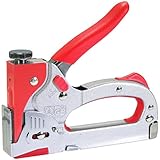 近与(KONYO) SUN UP 2ウェイメタルタッカー強力型 & 替針200本付き STP-1214
You might also find a staple remover like the one below handy for pulling out the tacker staples.
 SK11 ステープルリムーバー ホチキスの針外し SSR-175
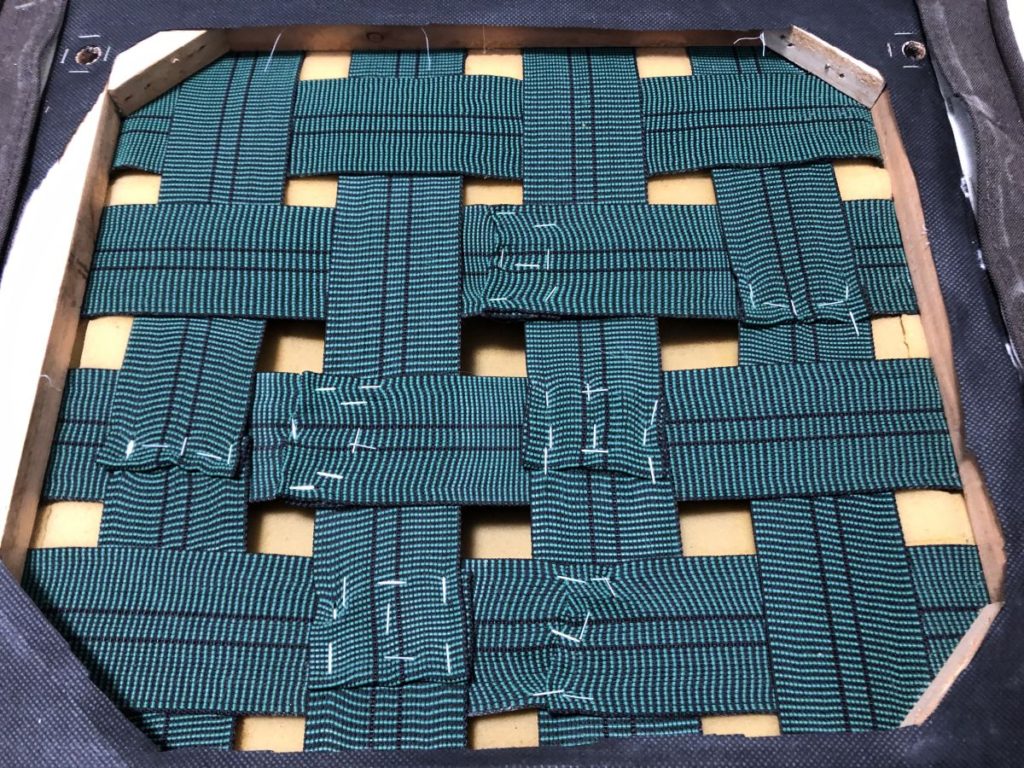
I first pulled out a mountain of tacker staples — literally hundreds of them.. As you can see in the photo below, it was already a lot of work just getting this far.
From there, after going through various steps and gaining access to the inside, I re-attached the hard-to-remove webbing tape as tightly as possible and added new webbing tape in between.
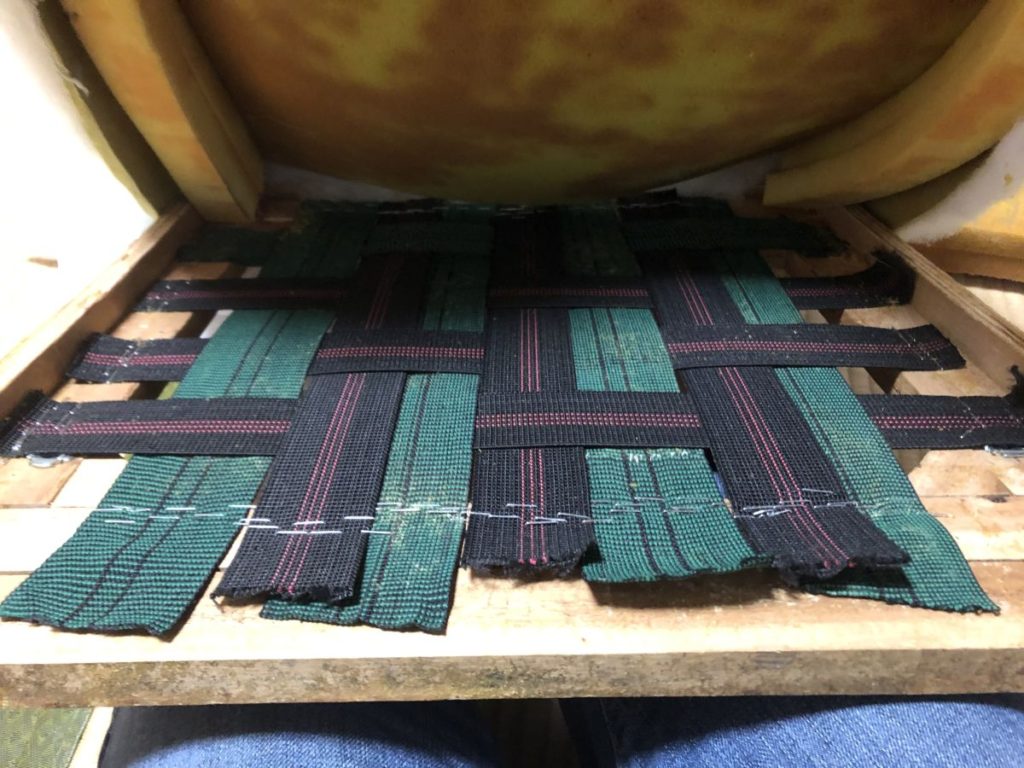
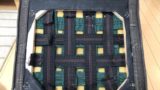
This is what the underside looks like after re-stapling everything in place.
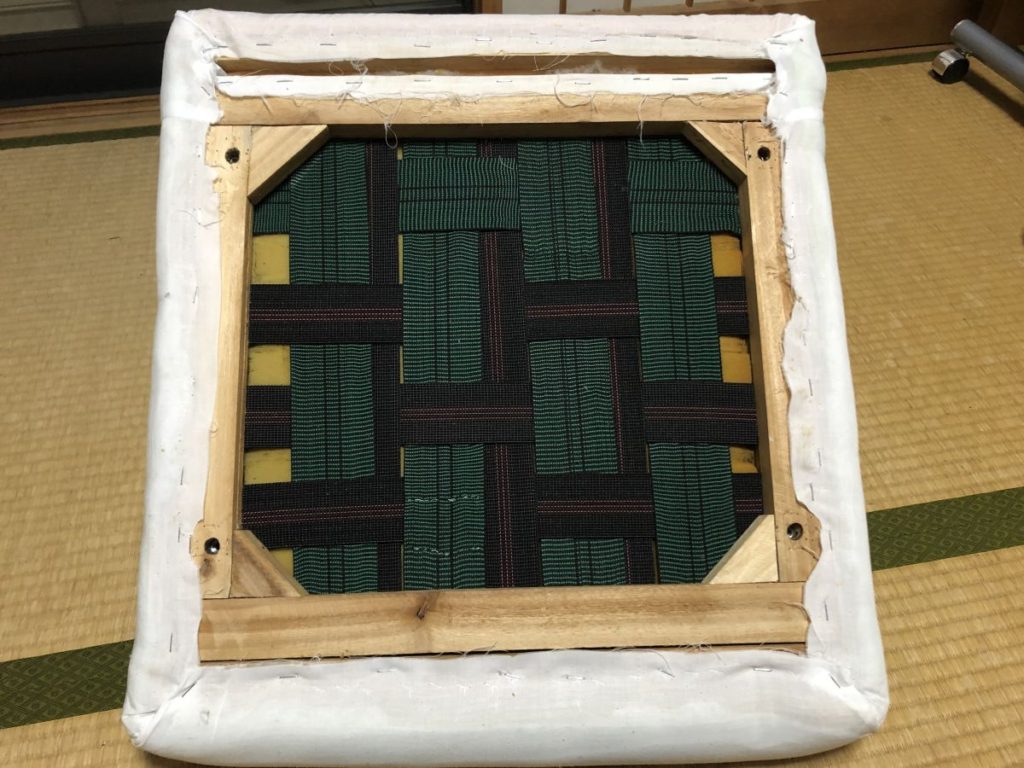
Finally, I attached a breathable fabric to the bottom to complete the repair!

Because I was checking everything and taking photos along the way, it took me about 10 hours to finish just one seat. It was so much work that I didn’t feel great the next day…
Shortening Existing Webbing Tape with a Staple Gun
The above process was so time-consuming that I had to think about how to “simplify” it for the remaining two cushions out of the three.
This time, I tried a shortcut method: shortening the webbing tape with a staple gun.
I’ll summarize that process here as well.
First, cut away the bottom fabric.
I skipped the staple-removal process for this version.
I layered new webbing tape over the old one and secured it by stapling it repeatedly with the staple gun so it could support the seat again. The tape itself was honestly like stretched-out rubber, with very little elasticity left.
For this version I managed to skip the disassembly process (though, of course, the overall quality of the result is noticeably lower.)
I’m not sure how long this fix will actually last.
Another idea I’ve had is to attach a new piece of webbing tape to each end of the stretched tape and fasten it with the staple gun, hoping it will hold better.
At the moment, one seat has had the webbing tape completely replaced, and the other two have only been “shortened” with the staple gun. I do think the first method will last longer.
Wow, completely replacing the webbing tape was really hard work!
Attaching New Webbing Tape Over the Old One (Optimized Version for Quick Fix)
As my latest “quick-fix” version, I tried a new approach: attaching a new piece of webbing tape directly on top of the existing stretched tape and fastening it with a staple gun.
The idea is for the new tape to take over the weight support from the weakened original one.
I’ve described this procedure in detail in [this article] (link), so please check it out if you’re interested.
Summary & Materials Used
I’ve tried several different levels of repair methods and summarized them here.
Feel free to start with whichever level suits you best and work your way up.
I’ve included the links to the webbing tape and the stapler (tacker) mentioned above again for your reference.
If you found this guide helpful, I’d appreciate it if you could consider purchasing through these links.
You can find the webbing tape here.
You can find the KONYO STP-1214 stapler here.


コメント